Your first review
This walk-through covers one full review cycle, so you can see how the pieces fit together. It assumes your manager has already created a project, added a task, and set up an approval pipeline.
As the designer
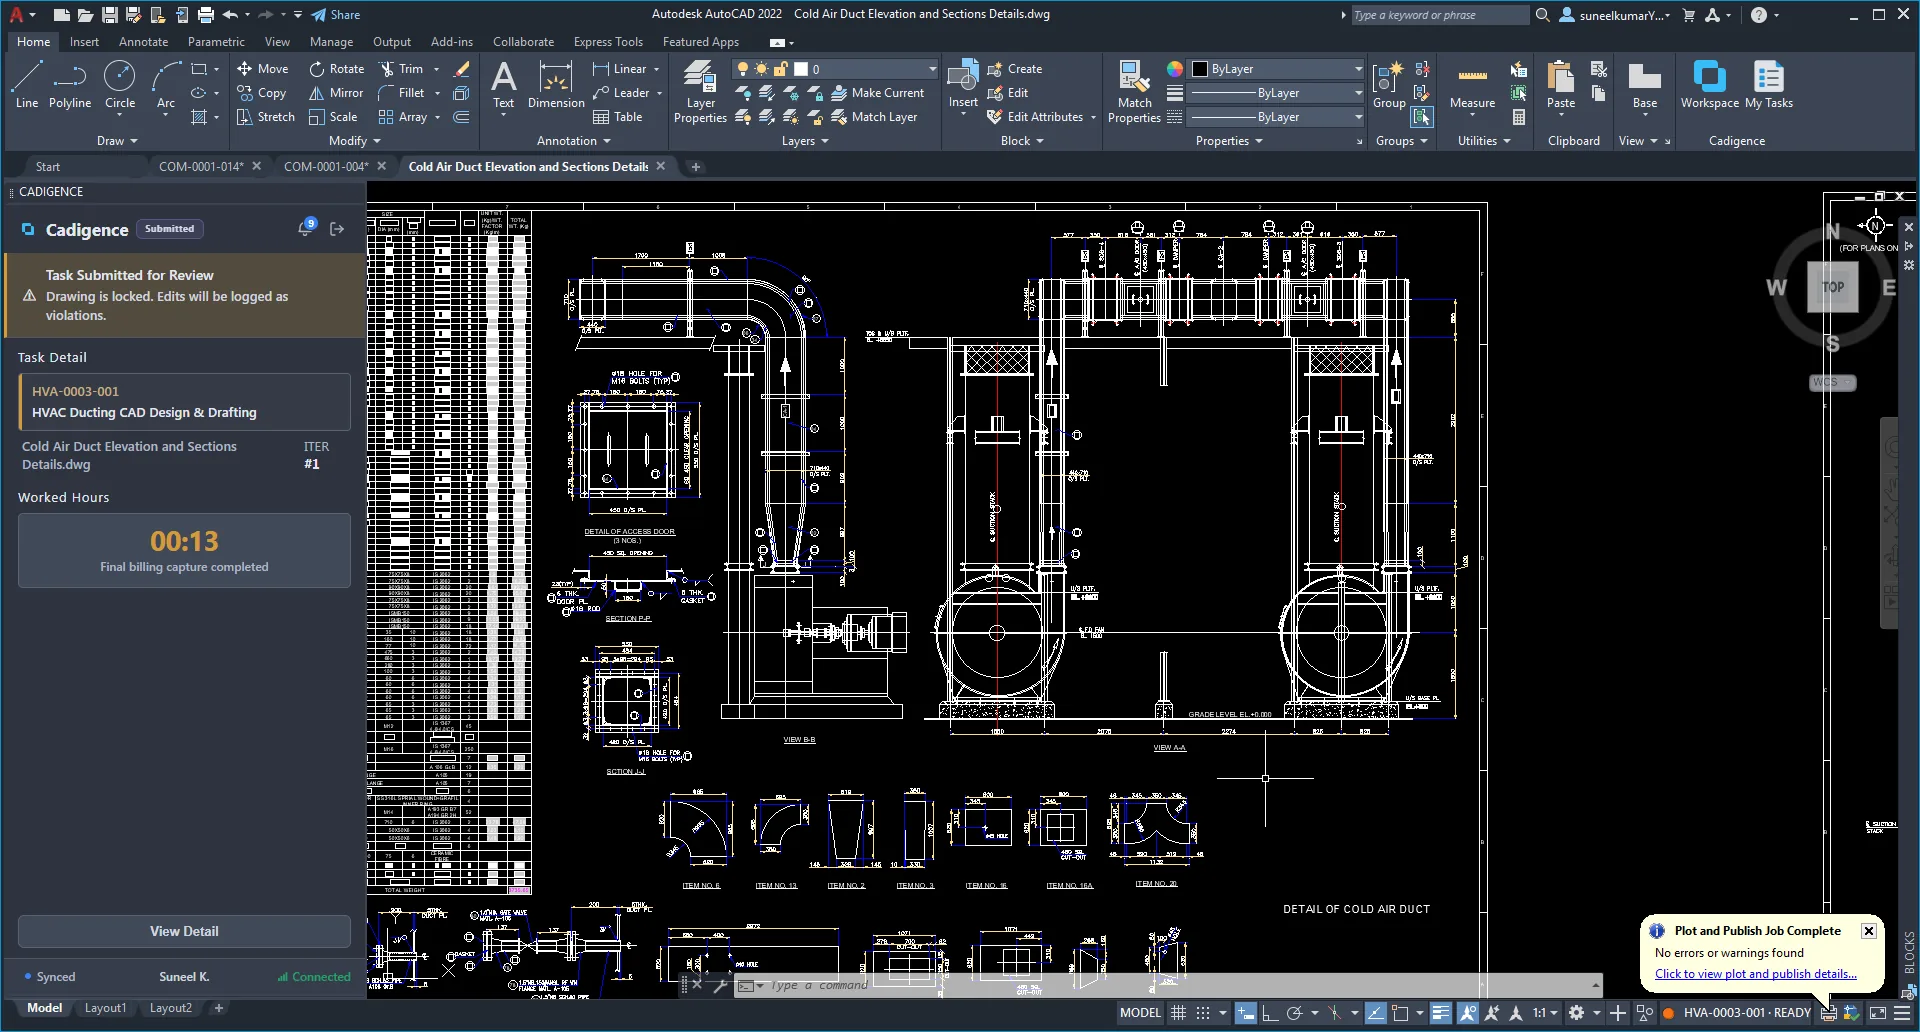
Section titled “As the designer”- Open your drawing in AutoCAD with the Cadigence palette signed in.
- Map the drawing to your task if it isn’t already, pick the task the drawing belongs to. From now on, your effort on this drawing is tracked automatically.
- When the drawing is ready, click Submit for review.
- The plugin renders the drawing to a PDF and uploads it. The task moves to the Ready state and locks so it can’t change during review. Effort tracking stops at this point.
As the reviewer
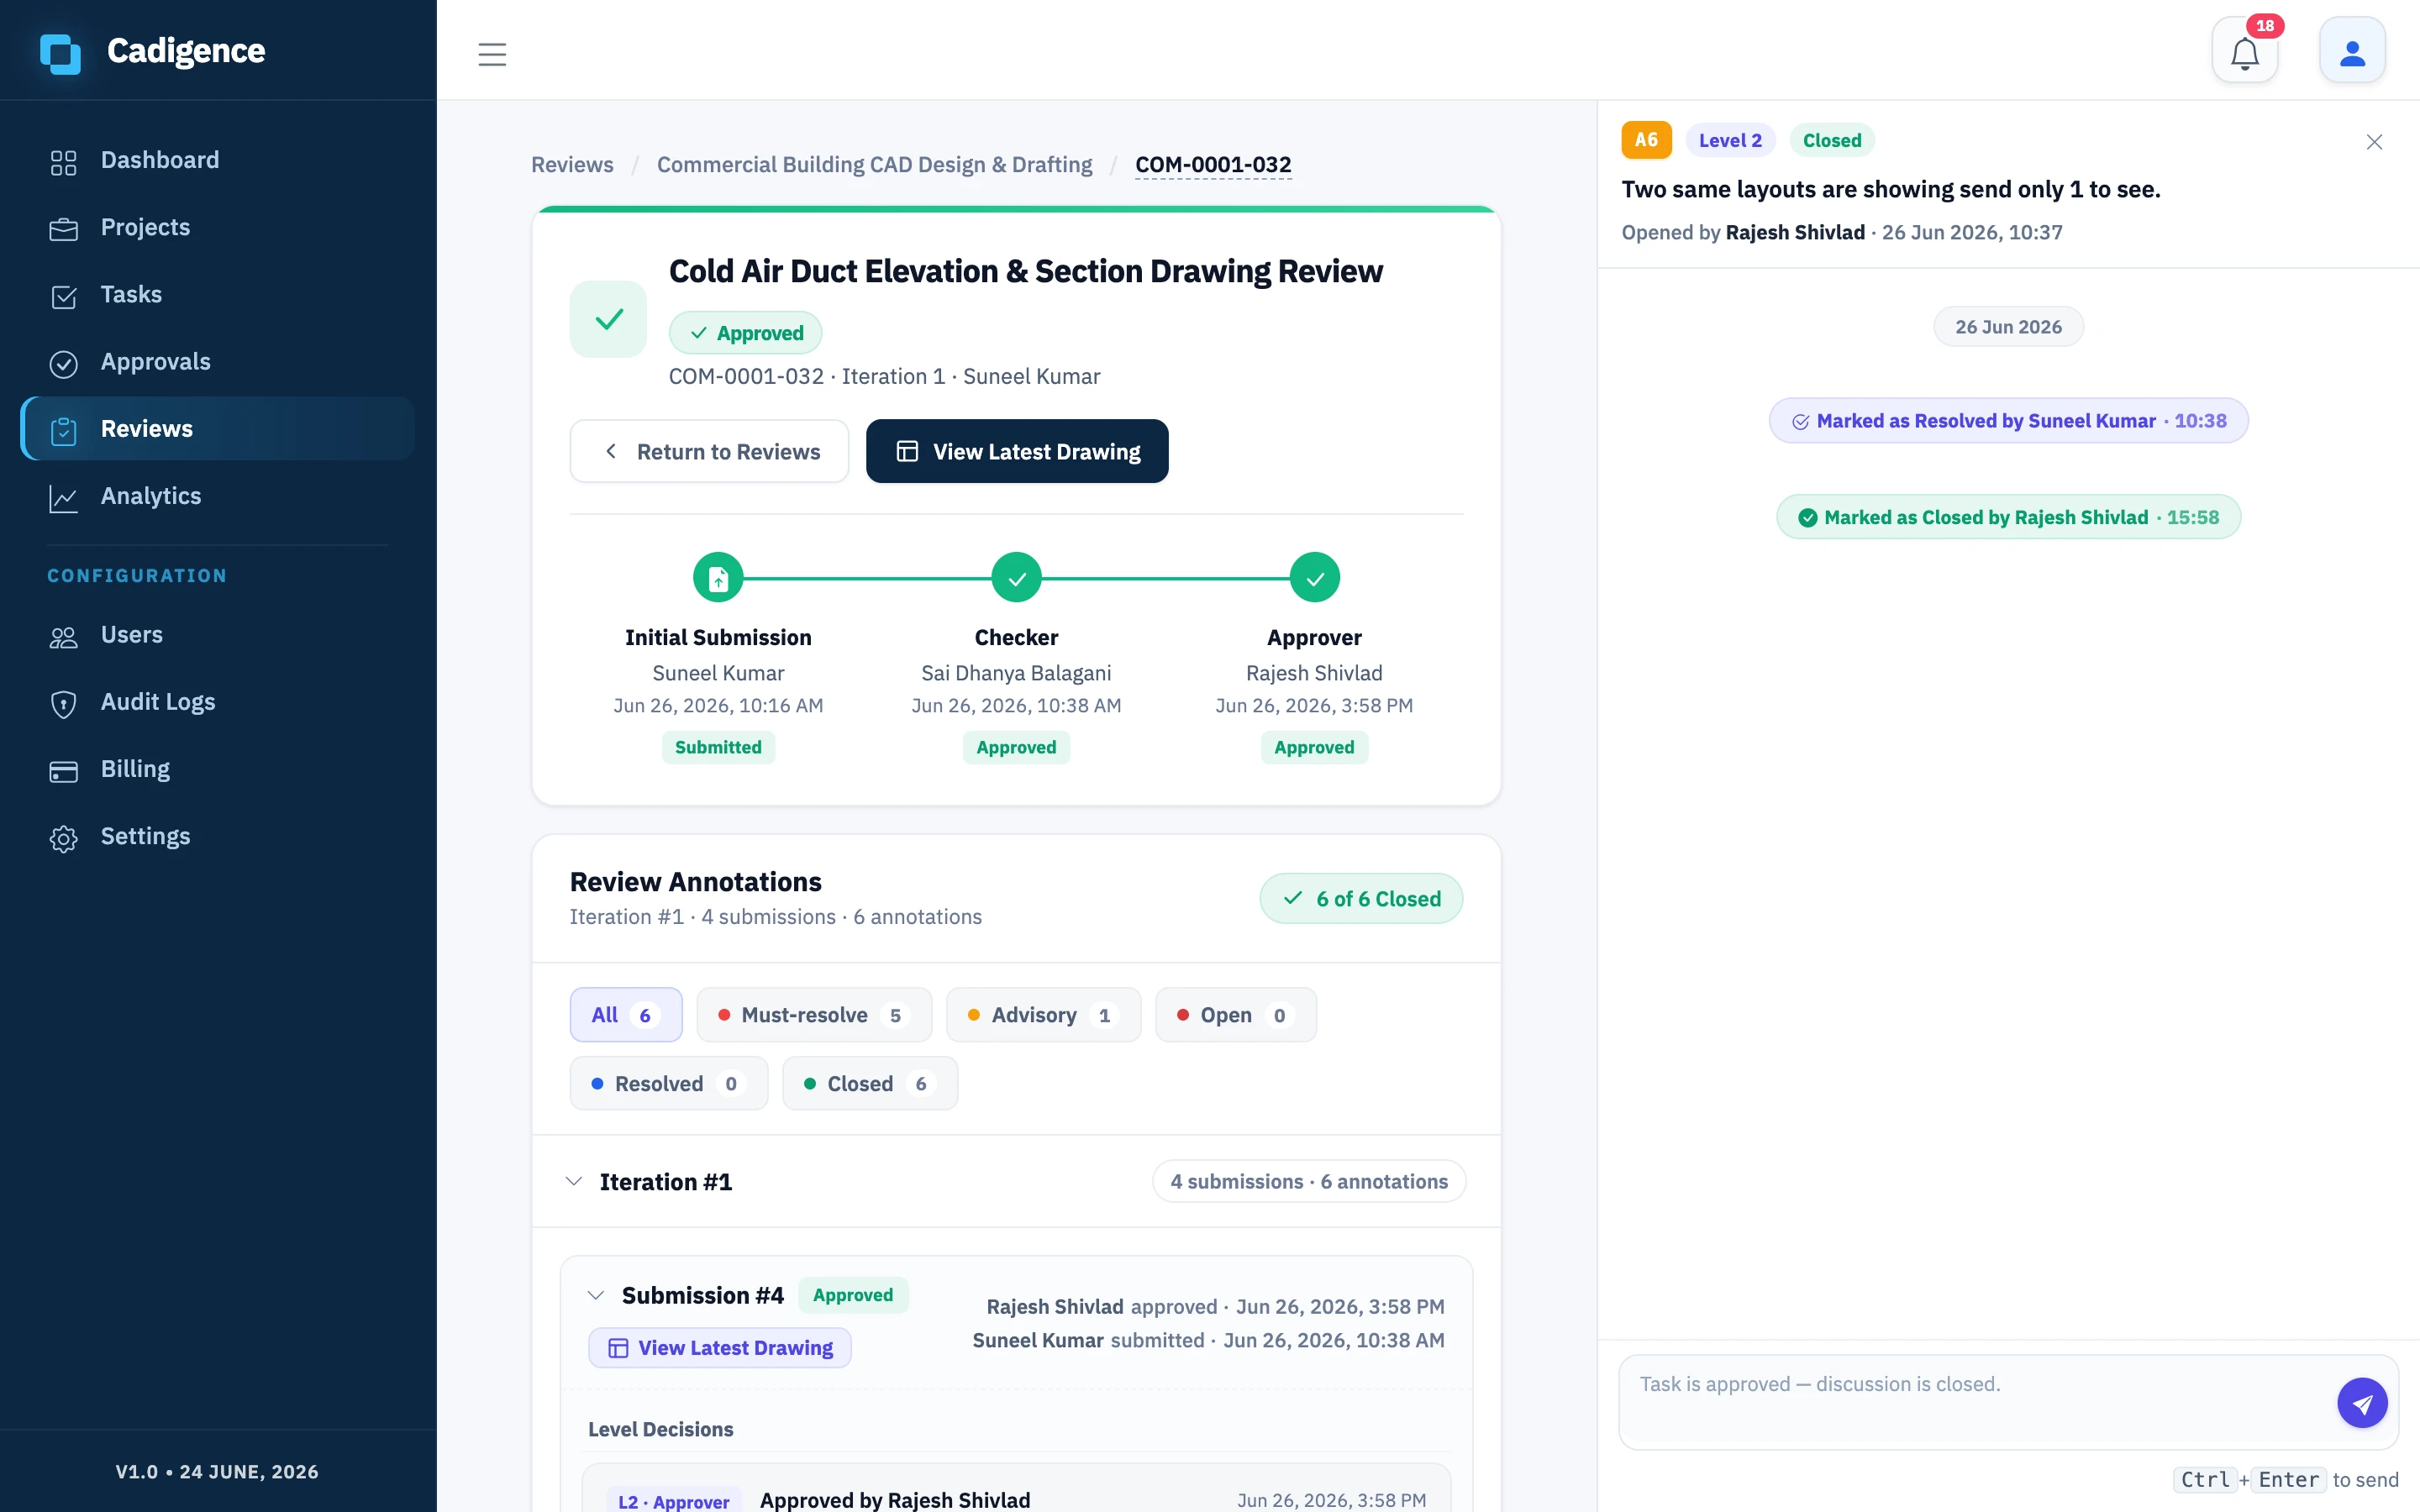
Section titled “As the reviewer”- In the web portal, open Reviews and select the task. (You’ll also get a notification.)
- Open the review PDF in the viewer. No AutoCAD is needed.
- Mark up the spots that need attention with the cloud, rectangle, arrow, text, and highlight tools. Tag each comment must-resolve or advisory, and add a note.
- Publish your comments so the designer can see them, then choose Approve, Approve with conditions, or Return for revision.
See Reviewing a drawing for the full reviewer workflow.
Back to the designer
Section titled “Back to the designer”- The comments appear pinned on your drawing in AutoCAD. Filter to the must-resolve items first.
- Jump to each must-resolve comment, fix it, and mark it resolved. Reply on any comment if you need to. (Advisory comments are guidance, there’s no resolve action on them; the reviewer closes them on approval.)
- Submit again. The reviewer verifies your fixes.
Up the levels, then approved
Section titled “Up the levels, then approved”When a level approves, the drawing hands off automatically to the next reviewer (if your pipeline has more levels). When the final level approves, the task becomes Approved and the full history is saved in the audit log.
Learn more in Multi-level approval.